Brain section alignment with fiducials
Background As part of the data ingestion pipeline onto brainsharer.org, sections must be aligned. The general pipeline steps allow for automated alignment post-masking. Unfortunately, some sections may still be out of alignment and require fiducials to properly align specific sections to the rest of the image stack.
After the pipeline has completed (Neuroglancer-compatible image stack created and visible from brainsharer.org), the user should identify which sections are out of alignment, create fiducials and re-rerun alignment. This document describes these steps.
Process and example
- Create the first aligned image stack in the pipeline:
python src/pipeline/scripts/create_pipeline.py –task align –animal {ANIMAL_ID}
- Create the first aligned precomputed data stack in the pipeline:
python src/pipeline/scripts/create_pipeline.py –task neuroglancer –animal {ANIMAL_ID}
In a browser, open up Neuroglancer and create a new view.
Add the first layer with the ‘+’ icon. This initial layer will have a source such as: https://imageserv.dk.ucsd.edu/data/{ANIMAL_ID}/neuroglancer_data/C1T_aligned.
This will be the layer where you will add the fiducials. This layer has already been aligned, but most brains need fiducials to make the alignment more accurate.
Open up the upper left quadrant. You may need to adjust the brightness and contrast to see the image better. See the ‘Adjusting colors’ page for more information.
Identify which section(s) are not properly aligned through Neuroglancer interface. The z value is the section number.
Navigate to non-aligned section (in figure below this is section 75).
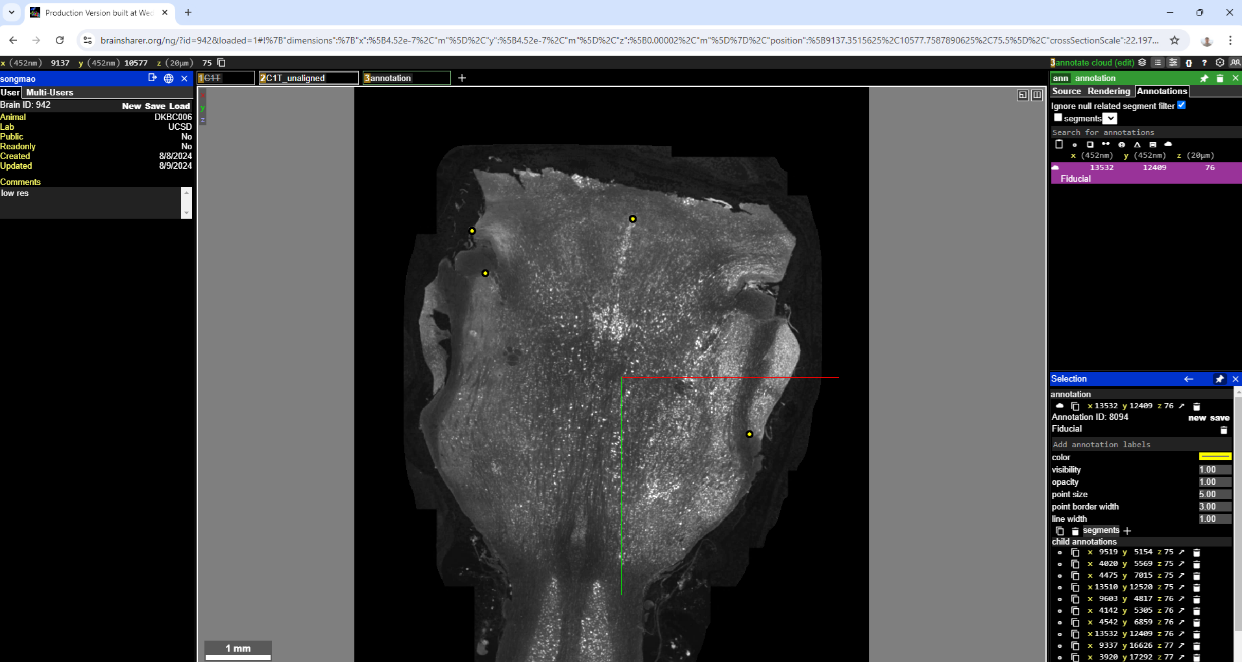
Create a new annotation layer (just click CTRL and the “+” icon next to the “C1T_aligned” layer. That creates a new annotation layer.
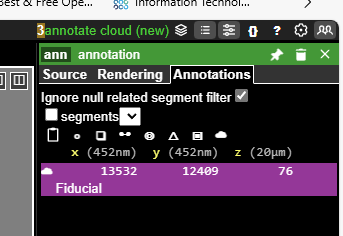
Click the ‘Annotations’ tab on the top far right, then click the ‘Annotate cloud’ icon on the far right (in red box)
Pick 2 or 3 points on aligned section and save with a Fiducial label.
Adding fiducial label
Go to the lower right panel and type ‘Fiducial’ in the text box that says ‘Add annotation labels’. A search result will pop up.
Select the ‘Fiducial’ selection
Save current state (the fiducial points must be exported!)
Click the ‘new’ (lower-case ‘n’) icon in lower-right corner of screen (see figure below)
Note: These are NOT same new/save buttons used for saving entire state! Those have upper-case letters.
N.B. If you add more points, make sure to click the ‘save’ button on the bottom far right.
Repeat cloud annotations for all non-aligned sections (same number of points)
Re-run alignment
Login into one of the linux workstations
- Navigate to /data/pipeline/ (contains all scripts)
cd /data/pipeline
- Active the python virtual enviroment
source /usr/local/share/pipeline/bin/activate
- Run realign step [for channel 1, downsampled]
python src/pipeline/scripts/create_pipeline.py --task realign --animal {ANIMAL_ID}
- Run neuroglancer step [for channel 1, downsampled]
python src/pipeline/scripts/create_pipeline.py --task neuroglancer --animal {ANIMAL_ID}
- The newly aligned data will be available as a new precomputed data stack. Open up a new layer and enter this as a precomputed data source:
https://imageserv.dk.ucsd.edu/data/{ANIMAL_ID}/neuroglancer_data/C1T_realigned
Check the alignment of the sections with fiducials. If the alignment is still not correct, add more/better fiducials and repeat the process.
- Note
The neuroglancer process will use the realigned data stack if it exists, otherwise, it will use the original aligned data stack.